Sebelumnya sudah pernah kita bahas mengenai cara installasi Ocean Tools pada Ubuntu, ada disini: Instalasi Ocean Tools D-wave di Ubuntu. Caranya mirip dengan instalasi di Windows pada tahun 2024.
Dwave memiliki QPU kita butuhkan untuk melakukan berbagai komputasi Quantum Annealing yang dapat diakses secara online melalui Ocean Tools. Panduan penggunaan Dwave ini dapat kita pelajari pada link berikut ini:
Khusus bagian ini akan dijelaskan 4 langkah proses instalasi Ocean Tools tersebut pada Windows (10/11). Selamat mengikuti langkah-langkah instalasi berikut ini.
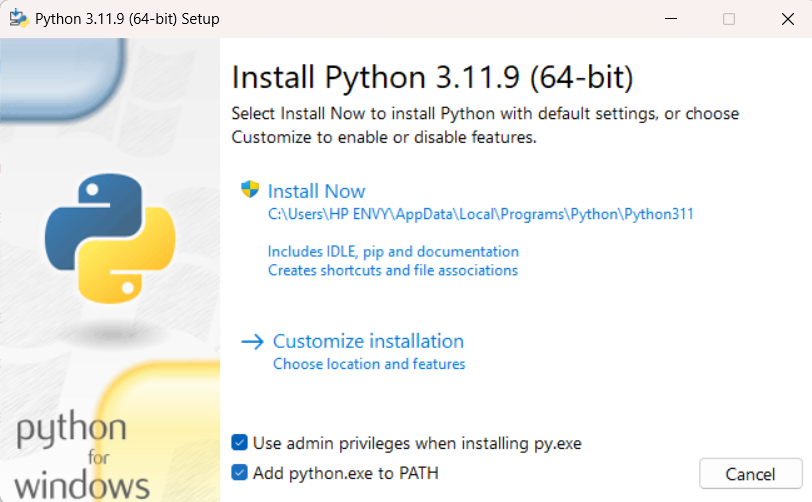
1. Install Python 3.11 (Windows system 64-bit).
link download python untuk windows: https://www.python.org/downloads/windows/, Klik Install.
Kemudian jika selesai, cek version python pada command prompt (klik Start kemudian ketik cmd).
> py --version
atau
> python --version2. Create virtual environment untuk Ocean Dwave.
Buatlah virtual environment tempat berkerjanya Ocean Dwave SDK, untuk digunakan pada proses instalasi selanjutnya, dengan menjalankan script berikut ini.
> py -m venv ocean3. Install DWave SDK (version 0.12.1)
Install Dwave menggukan script pip berikut ini;
> pip install dwave-ocean-sdkSetelah berhasil, bisa dicek script dwave –version, atau berbagai keyword dwave lainnya.
Options:
  --version    Show the version and exit.
  --debug      Enable debug logging.
  --trace      Enable trace-level debug logging.
  --log LEVEL  Set custom numeric or symbolic log level.
  --platform   Show the platform tags and exit.
  --help       Show this message and exit.

Commands:
  auth     Authorize Leap access and fetch Leap/Solver API tokens.
  config   Create, update or inspect cloud client configuration file(s).
  install  Install optional non-open-source Ocean packages.
  leap     Interact with Leap API.
  ping     Ping the QPU by submitting a single-qubit problem.
  sample   Submit Ising-formulated problem and return samples.
  setup    Setup optional Ocean packages and configuration file(s).
  solvers  Get solver details.
  upload   Multipart problem upload with cold restart support.
4. Setting konfigurasi DWave, koneksi Ocean dengan Leap.
Setelah berhasil install dwave sdk, maka tahapan selanjutnya adalah konfigurasi dwave tersebut untuk terhubung dengan akses Leap yang telah didapatkan sebelumnya. Anda harus terdaftar di Leap Solver (https://cloud.dwavesys.com/leap/) dan mendapatkan akses token API untuk Dwave ocean.
Gunakan script “dwave setup” atau “dwave config create”, dan ikut petunjuk yang diberikan, kemudian masukkan kode token API dari Leap Solver.
> dwave setup
Optionally install non-open-source packages and configure your environment.

Do you want to select non-open-source packages to install (y/n)? [y]: y

D-Wave Problem Inspector
This tool visualizes problems submitted to the quantum computer and the results returned.
This package is available under the D-Wave EULA license.
The terms of the license are available online: https://docs.ocean.dwavesys.com/eula
Install (y/n)? [y]: y
Installing: D-Wave Problem Inspector
Successfully installed D-Wave Problem Inspector.

D-Wave Drivers
These drivers enable some automated performance-tuning features.
This package is available under the D-Wave EULA license.
The terms of the license are available online: https://docs.ocean.dwavesys.com/eula
Install (y/n)? [y]: y
Installing: D-Wave Drivers
Successfully installed D-Wave Drivers.

Creating the D-Wave configuration file.

Using the simplified configuration flow.
Try 'dwave config create --full' for more options.

Creating new configuration file: C:\Users\Tambunan\AppData\Local\dwavesystem\dwave\dwave.conf
Updating existing profile: defaults
Solver API token [skip]: DEV-xxtokenxx-masukkan-token-anda-disini
Configuration saved.
Sampai disini, tahapan instalasi dan konfigurasi Ocean Dwave SDK telah berhasil, dan dwave dapat anda gunakan untuk menjalankan komputasi quantum annealing.
Untuk (Bonus) tahapan ke-5, silahkan dicoba koneksi dengan solver DWave tersebut menggunakan contoh formula QUBO yang sederhana. Selamat mencoba!
import networkx as nx
from collections import defaultdict
#from dwave.system import DwaveSampler, EmbeddingComposite
from dwave.system.samplers import DWaveSampler
from dwave.system.composites import EmbeddingComposite

G = nx.Graph()
G.add_edges_from([(0,4),(0,5),
                  (1,2),(1,6),
                  (2,4),(3,7),
                  (5,6),(6,7)])

Q = defaultdict(int)

#constraint
lagrange = 4
for i in range(8):
    Q[(i,i)] += -7*lagrange
    for j in range(i+1,8):
        Q[(i,j)] += 2*lagrange

#objective
for i,j in G.edges:
    Q[(i,i)] += 1
    Q[(j,j)] += 1
    Q[(i,j)] += -2

sampler = EmbeddingComposite(DWaveSampler(solver={'qpu': True}))
sampleset = sampler.sample_qubo(Q, num_reads=10, chain_strength=10)

#print(Q)